
WordPress Security Enhancement using popular plugins
February 18, 2024
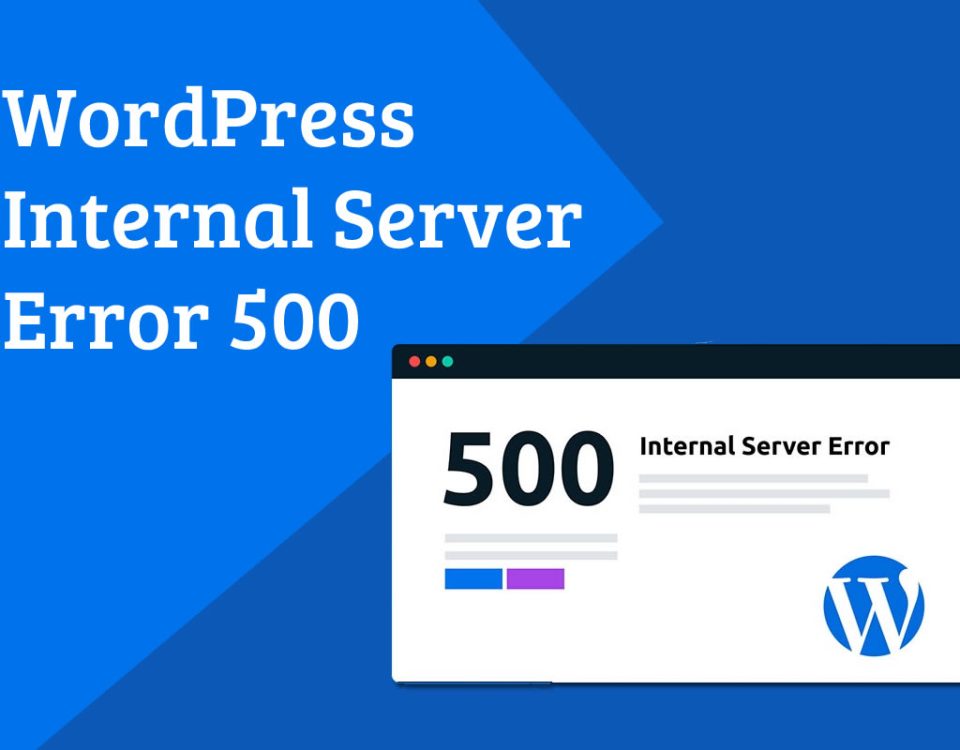
Top 5 WordPress Image Loading Issues and Fixes
February 21, 2024
Integrating Google Analytics with your WordPress website is a crucial step in understanding your site’s performance and audience behavior. This step-by-step guide will walk you through the process of integrating Google Analytics into your WordPress site.
Step 1: Sign Up for Google Analytics
If you haven’t already, sign up for a Google Analytics account by visiting analytics.google.com. Follow the prompts to set up your account and website property. Once completed, you’ll receive a unique tracking ID.
Step 2: Install Google Analytics Plugin
In your WordPress dashboard, navigate to Plugins > Add New. Search for “Google Analytics” and choose a plugin that suits your needs. Popular options include “MonsterInsights,” “Analytify,” or “Google Analytics Dashboard for WP.” Click “Install Now” and then “Activate.”
Step 3: Configure the Plugin
After activating the plugin, you’ll need to configure it. Go to Settings > Google Analytics in your WordPress dashboard. Enter your Google Analytics tracking ID in the appropriate field. Some plugins may require additional setup, such as granting permissions or selecting tracking options.
Step 4: Verify Tracking
Once configured, it’s essential to verify that Google Analytics is tracking your website correctly. Open your website in a new browser tab and navigate to a few different pages. Then, return to your Google Analytics account and go to Real-Time > Overview. You should see active users on your site in real-time if the tracking is working correctly.
Step 5: Customize Tracking (Optional)
Depending on your needs, you may want to customize your tracking settings further. This could include setting up goals, enabling e-commerce tracking, excluding specific user roles or IP addresses, and more. Explore the settings within your chosen Google Analytics plugin to tailor the tracking to your requirements.
Step 6: Test and Monitor
After completing the setup and any customization, it’s essential to regularly test and monitor your Google Analytics data. Verify that it continues to track accurately over time and review the reports to gain insights into your website’s performance, user behavior, traffic sources, and more.
Step 7: Keep Plugin Updated
To ensure compatibility and security, it’s crucial to keep your chosen Google Analytics plugin updated regularly. Check for updates in the Plugins section of your WordPress dashboard and install any available updates promptly.
By following these steps, you can seamlessly integrate Google Analytics into your WordPress website, enabling you to gather valuable data and insights to optimize your site’s performance and user experience.

